How to Make Agar Plates for Growing Bacteria
How to Make Agar Plates for Growing Bacteria
If you’ve ever wondered how to make agar plates for growing bacteria at home, you're in the right place. Whether you're a science enthusiast, a student, or working in a small lab, creating agar plates at home or in the lab is easier than you might think.
With just a few simple materials and steps, you can create a medium that allows bacteria to thrive, helping you carry out experiments, observe microbial growth, or even conduct scientific research.
In this guide, I’ll walk you through the entire process, ensuring you feel confident from start to finish. Let's dive in and discover how to make agar plates for growing bacteria!

What You’ll Need to Make Agar Plates
Before we start the process, gather the following materials:
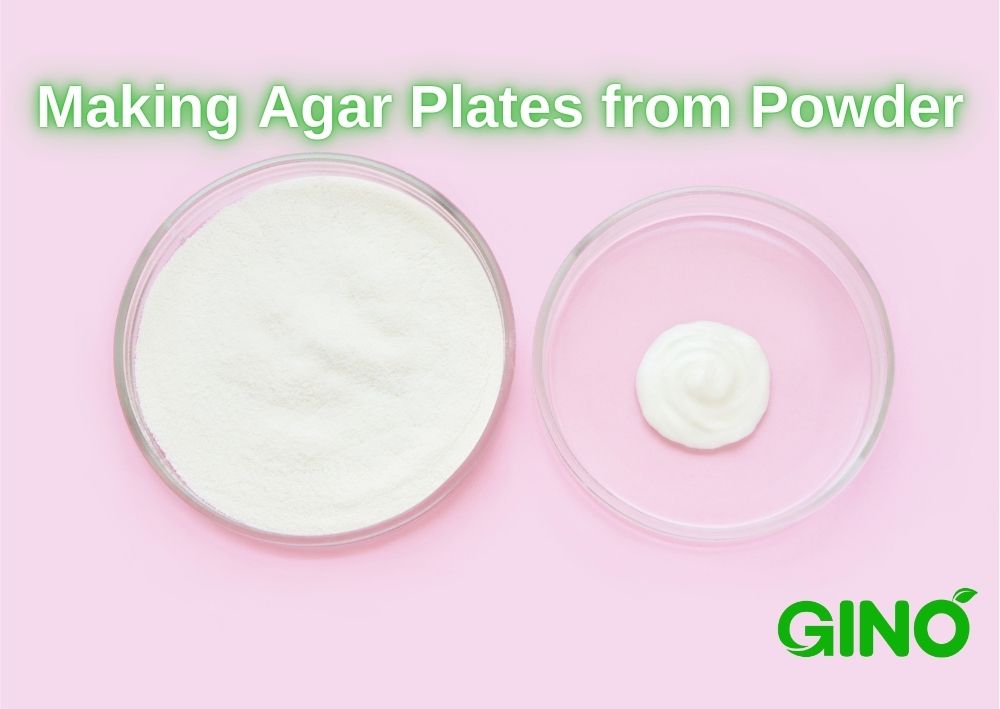
- Agar powder - Making agar plates from powder. This is the base of your agar plate, typically made from seaweed. You can find it in specialty food stores or online.
- Nutrient broth or agar - For bacteria to grow, you’ll need to add nutrients that help them thrive.
- Distilled water - Purified water is essential to prevent contamination.
- Sterile Petri dishes - These will hold your agar mixture.
- Autoclave or pressure cooker - Necessary for sterilizing the medium and equipment.
- Measuring cup and spoon - To measure the correct amount of ingredients.
- Heat source (stovetop or microwave) - For boiling the agar mixture.
- Sterile inoculation tools - Such as a loop or swab for spreading bacteria.

Step-by-Step: How to Make Agar Plates for Growing Bacteria
1. Prepare the Agar Mixture
In a clean workspace, mix your agar powder with nutrient broth and distilled water. The standard ratio is about 20 grams of agar to 1 liter of water.
Adjust depending on how many plates you need.
Stir the mixture thoroughly to ensure the agar dissolves.
2. Heat the Mixture
Once your ingredients are combined, heat the solution.
If you’re using a stovetop, bring the mixture to a boil while stirring continuously. Alternatively, use a microwave in short intervals, ensuring the agar dissolves completely.
This step is crucial to make the agar ready to solidify properly in the plates.
3. Sterilize the Agar
To prevent contamination, sterilize the agar by placing it in an autoclave or a pressure cooker at 121°C (250°F) for 15-20 minutes.
This step kills any unwanted microorganisms that might interfere with your bacterial growth.
Be cautious when handling hot materials, and allow the pressure to drop before opening the container.
4. Cool the Agar to Pouring Temperature
Once sterilized, let the agar mixture cool slightly to around 45-50°C.
Cooling it too much will cause it to solidify in your container, but pouring it too hot can damage the Petri dishes or cause uneven solidification.
5. Pour the Agar into Petri Dishes
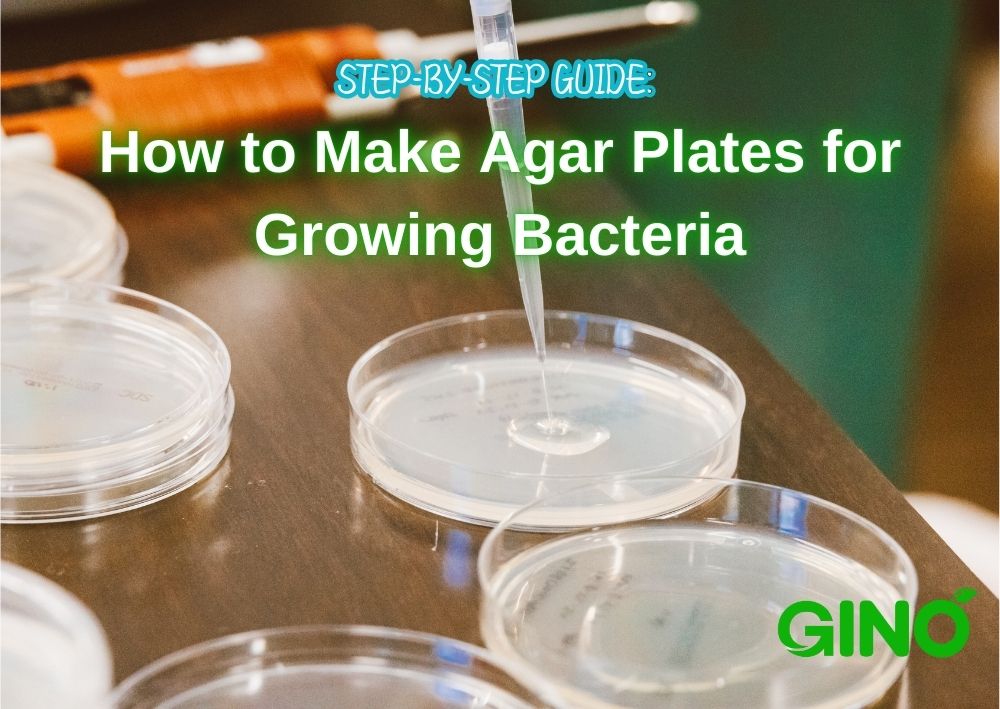
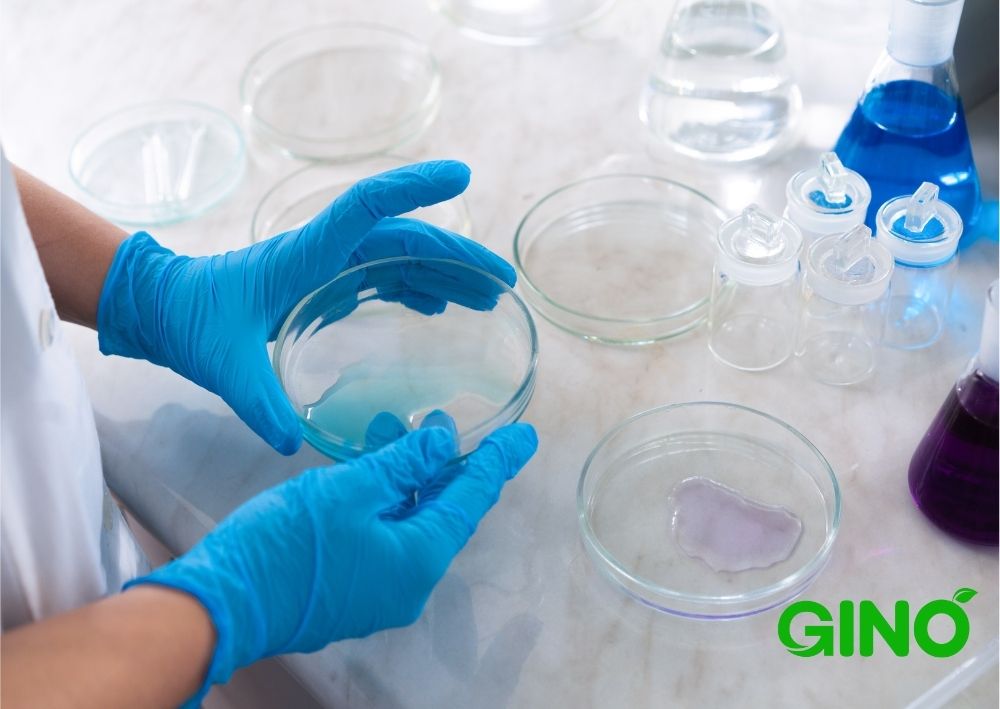
In a sterile environment, carefully pour the agar into sterile Petri dishes, covering just the bottom (about 3-5mm thick). Ensure the surface is smooth and bubble-free.
Work quickly but carefully, and avoid opening the Petri dishes for too long to reduce contamination risks.
6. Allow the Agar to Solidify
Let the plates sit at room temperature for about 30 minutes or until the agar has fully solidified.
If you are not using the plates immediately, store them upside down in the refrigerator to prevent condensation from dripping onto the agar surface.
7. Inoculate the Plates with Bacteria
Once the agar has solidified, you can inoculate the plates by introducing bacteria. Use a sterile inoculation loop or swab to spread the bacteria evenly across the plate.
Depending on your experiment, you may want to streak bacteria to isolate individual colonies or apply a uniform layer for growth.
8. Incubate the Agar Plates
Place the inoculated agar plates upside down in an incubator or a warm area, typically between 30-37°C for most bacteria.
This upside-down position prevents condensation from falling onto the growing colonies, which could affect results.
Check the plates after 24-48 hours for signs of bacterial growth.

Common Issues and Troubleshooting Tips
- Condensation on plates: Storing plates upside down helps minimize condensation, which can interfere with bacterial growth.
- Contamination: If you notice unexpected growth (like mold), your workspace or materials may not have been properly sterilized. Always ensure you’re working in a clean environment and follow proper sterilization protocols.
- Agar not solidifying: This usually happens if the agar concentration is too low or the mixture was not boiled long enough. Ensure you’re using the correct ratios and boiling thoroughly.
Conclusion
Now that you know how to make agar plates for growing bacteria, you’re ready to embark on your own scientific experiments, whether at home or in a lab.
With the right materials and careful preparation, you can create a perfect environment for bacterial cultures to grow, observe, and analyze.
It's a rewarding process that brings science into your hands, and following these steps will help ensure success in your microbial growth endeavors.

If you’re looking for high-quality agar to make your own plates, we can help!
Our company specializes in providing various types of agar, suitable for scientific, laboratory, and even home experiments.
Reach out to us today to explore our wide range of hydrocolloids, including agar that meets your needs.
Contact Our teamRecent Posts

We are a biotech company specializing in the research, development, and commercialization of innovative and technological food additives hydrocolloids Agar Agar, Carrageenan, and Tailor-Made Stabilizer Solutions.
With the extended know-how and experience in the research, application, and use of Hydrocolloids, we could provide one-stop-shop customized solutions perfectly matched to the needs of our customers.
Our products cover the needs of the Meat, Dairy, Bakery, Confectionery, and other industrial sectors.


